Now I rarely venture north of Cambridge, so I was clearly worried as to how I was going to cope with the bitter cold that I’ve heard graces the North of our Land.
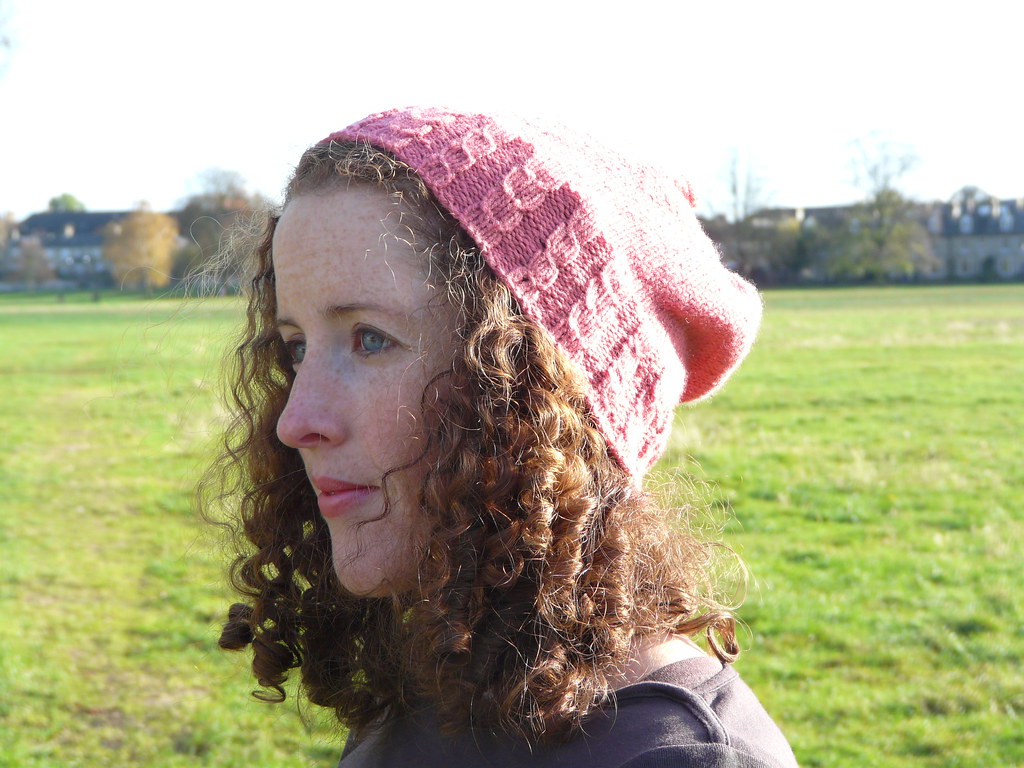
Cath being a hardened Northerner (she’s from Preston), laughed at my southern pretensions. ‘You’ll be needing a hat’ she said with a smile, ‘and possibly some snow boots’ she added knowingly. Boots are a bit beyond me, but a hat, now there’s a challenge. So here it is, the Sophisticat Hat, perfect for cold weather, wherever it is that you are.
Pattern Directions
Sizes S[M,L].
My head circumference is 56cm/22" (yes I know, I have a big head for a small person) and I knit size M. The pattern can be easily modified up or down by casting on 11 more or less stitches at the beginning.
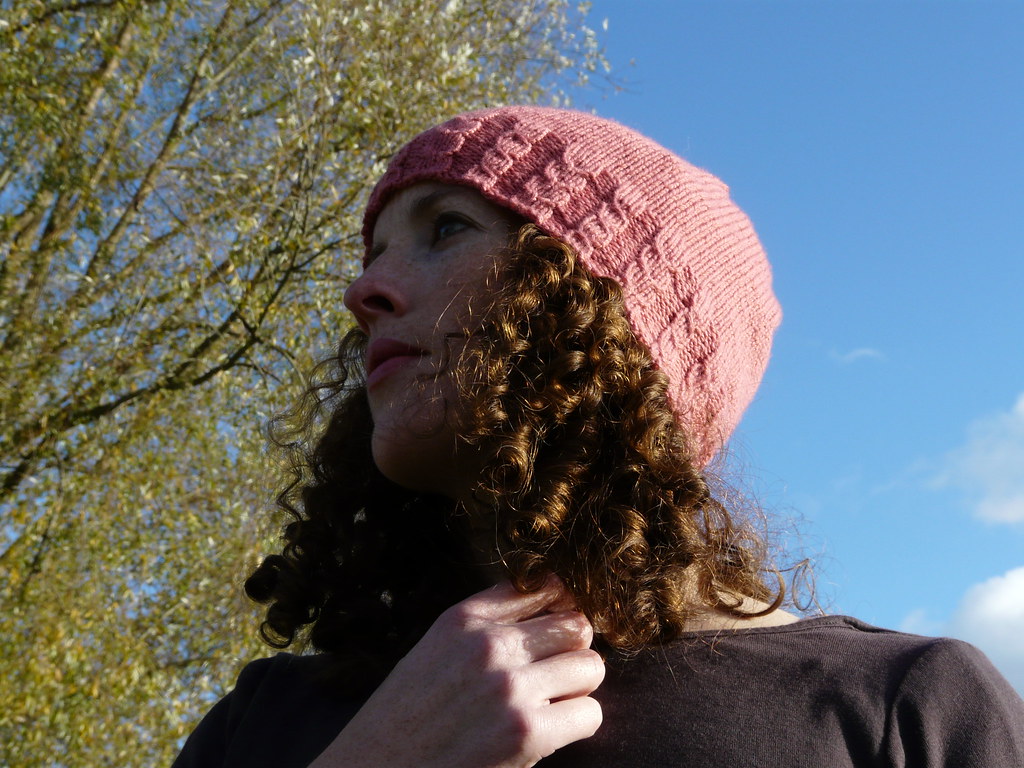
Wear the sophisticat hat slouchy or straight, depending on your mood.
 Gauge:
22sts x 30 rows in stocking stitch.
Yarn Requirements:
150 [170, 200]m DK yarn
(165 [185, 220]yds)
Yarn used in the sample: 2 x 50g balls Rowan Cashsoft DK SH506(130m/142yds per ball). I knit the medium size and used about 1.3 balls (about 170m/185yds).
150 [170, 200]m DK yarn
(165 [185, 220]yds)
Yarn used in the sample: 2 x 50g balls Rowan Cashsoft DK SH506(130m/142yds per ball). I knit the medium size and used about 1.3 balls (about 170m/185yds).
Needles:
4mm 40cm circular needle
4mm double pointed needles
Cable needle
Abbreviations:
C1B Slip 1 stitch onto cable needle and hold to the back
of work. Knit next stitch then knit stitch
from the cable needle.
C1F Slip 1 stitch onto cable needle and hold to the
front of work. Knit next stitch then knit stitch
from the cable needle.
K Knit
P Purl
K2tog Knit 2 stitches together
M1F Make 1 stitch through front of loop. (See note below).
Psso Pass slipped stitch over
Rnd Round
Sl1 Slip 1 stitch knitwise
Sts Stitches
Note that M1F differs from the usual M1. To work this stitch, pick up the loop lying between the stitch just knit and the next stitch, from front to back, using your left needle. Knit through the front of this loop.

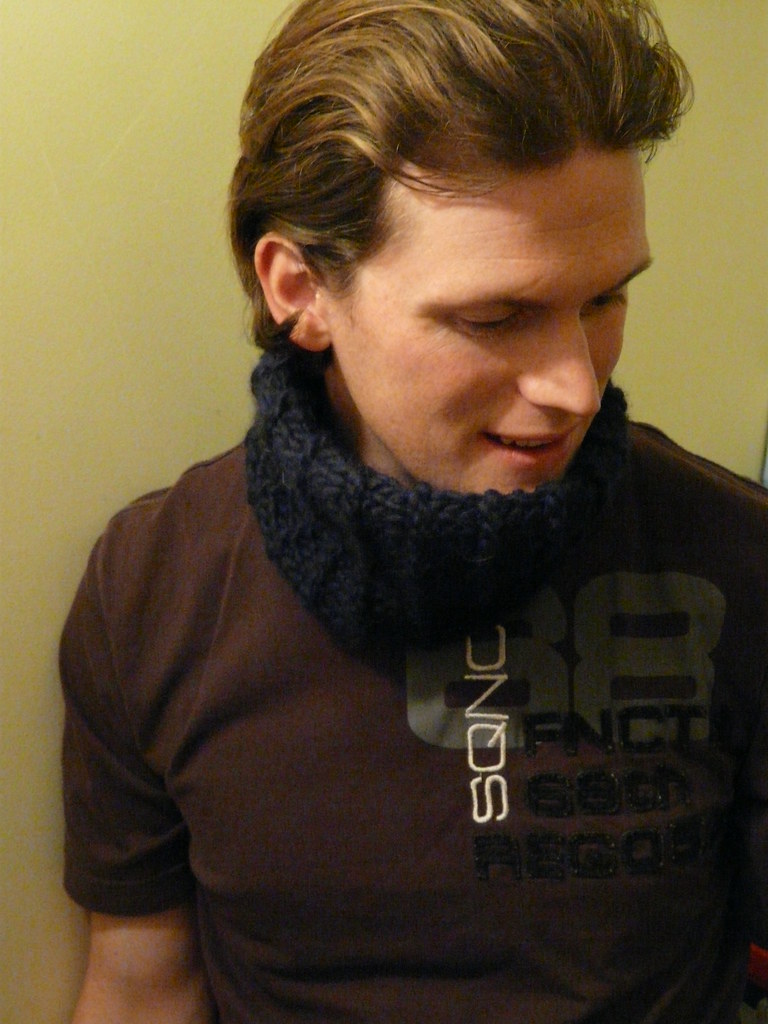
A note on cabling. You could easily work the C1B and C1F cables without a cable needle à la Grumperina:
Personally I’m a bit old school when it comes to cabling. I find it quicker and easier just to use the cable needle.
Brim
Cast on 99 [110, 121] stitches. Join to work in the round.
Cast on 99 [110, 121] stitches. Join to work in the round.
Rnds 1-4: *K4, P2, K3, P2, repeat from * to end of rnd.
Rnd 5: *K4, P2, Sl1, K1, M1F, K1, Psso, P2, repeat from * to end of rnd.
Rnd 6: *C1B, C1F, P2, K3, P2, repeat from * to end of rnd.
Repeat Rounds 1-6, 2 more times. (A total of 18 rounds has been worked).
Work Rounds 1-4 once more.
Body
Change to stocking stitch and knit until hat measures 18 [19, 20]cm (7 [7.5, 8]inches) from cast on edge.
Crown Decreases
Note, you should change to double pointed needles when you have too few stitches for your circular needle.

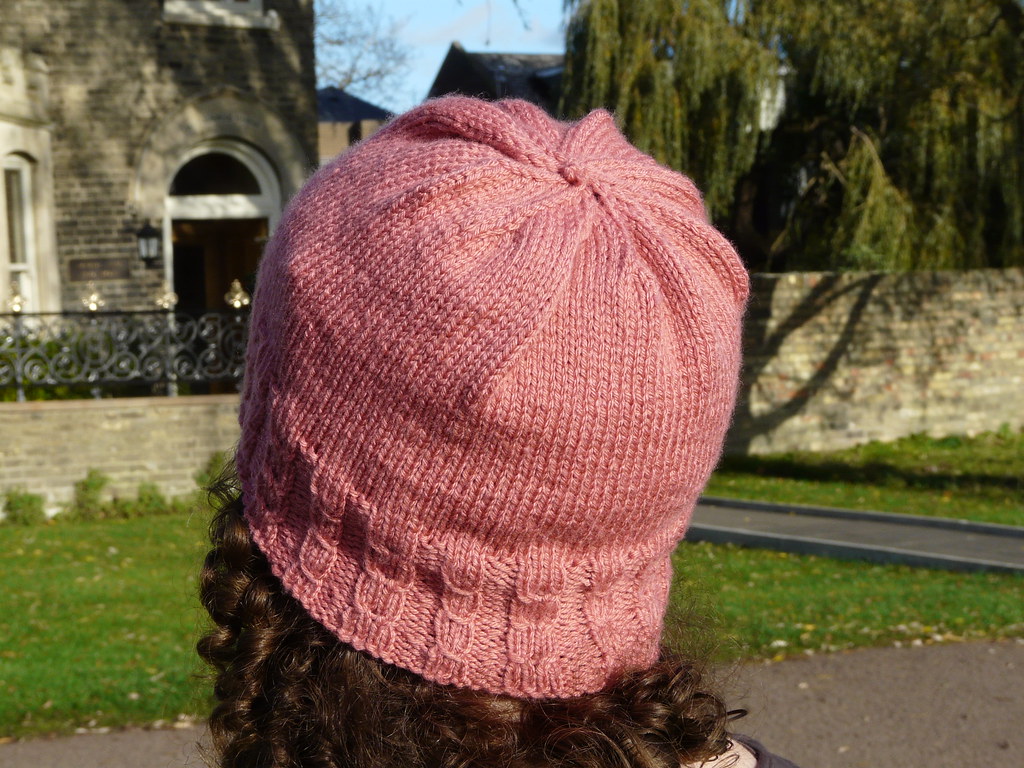
Widely spaced decreases on every row give a lovely pinwheel shape to the crown however the hat is worn.
Rnd 1: *K9, K2tog, repeat from * to end of round.
90 [100, 110]sts
Rnd 2: *K8, K2tog, repeat from * to end of round.
81 [90, 99]sts
72 [80, 88]sts
Rnd 4: *K6, K2tog, repeat from * to end of round.
63 [70, 77]sts
Rnd 5: *K5, K2tog, repeat from * to end of round.
54 [60, 66]sts
Rnd 6: *K4, K2tog, repeat from * to end of round.
45 [50, 55]sts
Rnd 7: *K3, K2tog, repeat from * to end of round.
36 [40, 44]sts
Rnd 8: *K2, K2tog, repeat from * to end of round.
27 [30, 33]sts
Rnd 9: *K1, K2tog, repeat from * to end of round.
18 [20, 22]sts
Rnd 10: *K2tog, repeat from * to end of round.
9 [10, 11]sts
For the small and large sizes:
Rnd 11: *K2tog, repeat from * to last stitch, K1.
For the medium size:
Rnd 11: *K2tog, repeat from * to end of round.
Rnd 11: *K2tog, repeat from * to last stitch, K1.
For the medium size:
Rnd 11: *K2tog, repeat from * to end of round.
5 [5, 6]sts
Top knot & Finishing
For the top knot, break yarn leaving a long tail (say 30cm). Thread tail on to a tapestry needle.
Thread needle through the first stitch on your left needle and drop off the needle. Repeat until one stitch remains.
Thread yarn through this last stitch but do not drop from the needle. Remove tapestry needle and K1, P1, K1, P1, K1 all into this stitch. Pass each stitch over the leftmost stitch on your right needle. i.e. if the stitches are numbered 1 to 5 from left to right as follows 1, 2, 3, 4, 5, pass 2 over 1, then 3 over 1, then 4 over 1, then 5 over 1.
Tie off last stitch and sew down the topknot over the centre of the crown decreases. Weave in all ends and block as desired.
© Katie White, November 2009